Thanks for your download of DBGate
If the download doesn't start automatically, please click here to access the download URL directly.
To install DBGate, unzip the downloaded package, run setup.exe, and follow wizard steps.
The wizard will install the product and launch the DBGate Setup wizard:
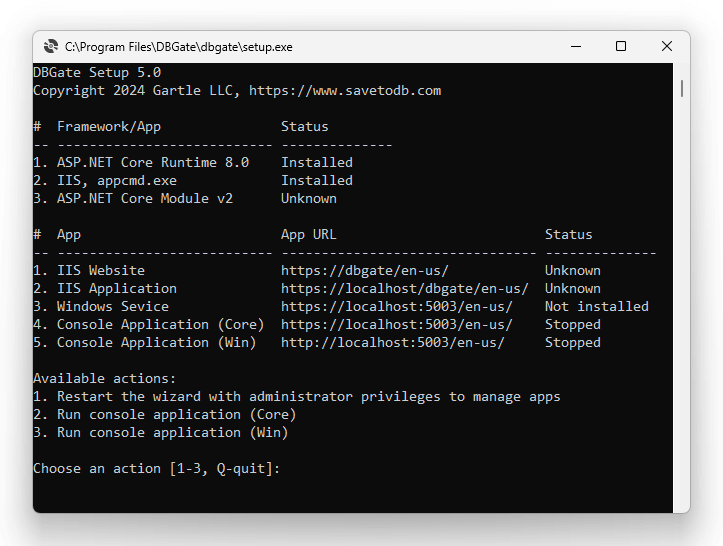
This wizard allows starting console apps, opening pages, configuring IIS, Windows services, and SSL certificates.
You may run the DBGate Setup wizard anytime from the DBGate folder in the Windows start menu.
Please type 1 to relaunch the wizard with administrator permissions to read all settings:
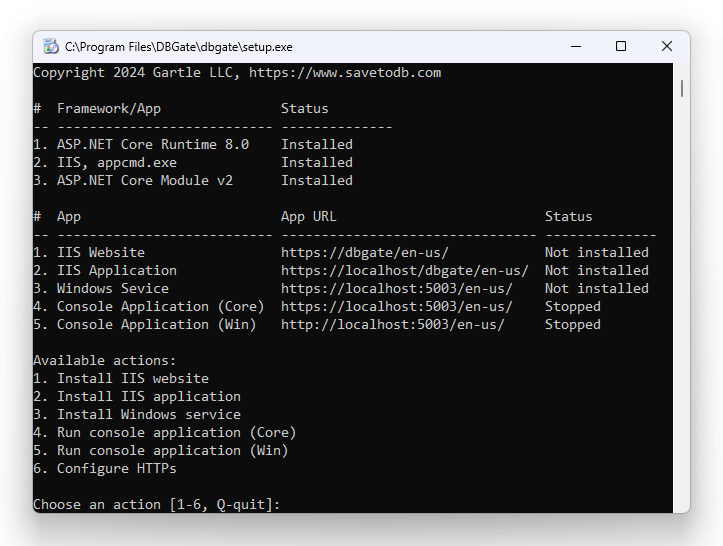
You may choose any action.
However, for the first time please type 4 to run the console application and open the homepage.
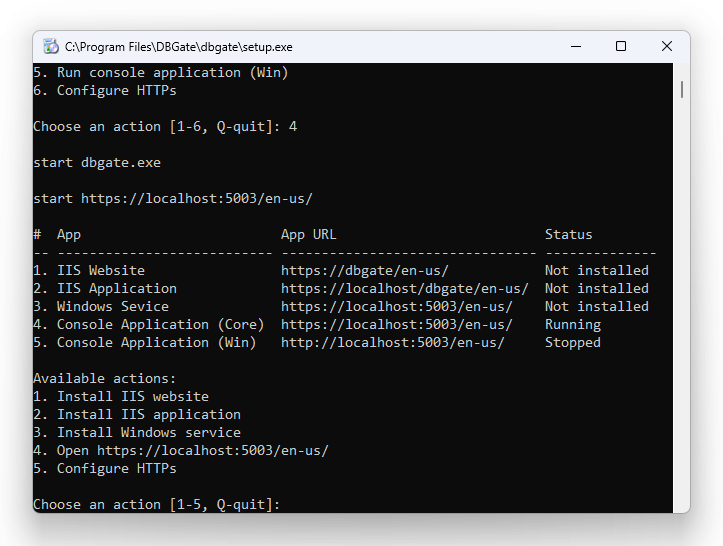
You will see the next screen with the executed commands (like start dbgate.exe) and the updated status:
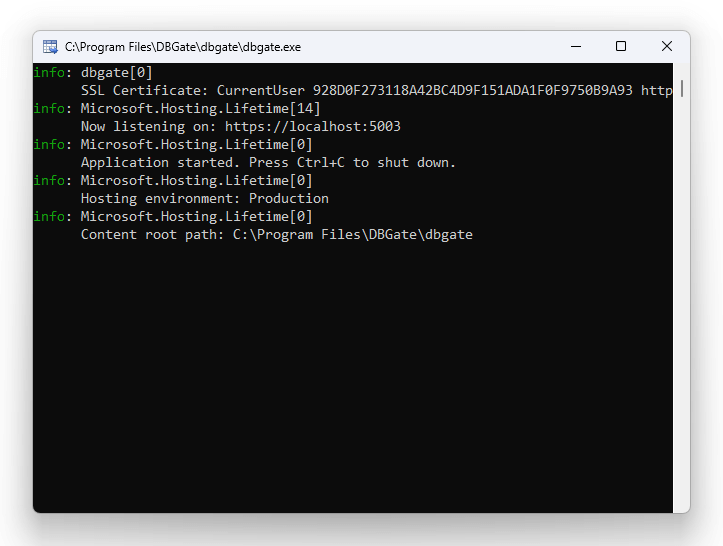
Also, you have to see the DBGate console application window:
Also, you have to see the DBGate homepage:
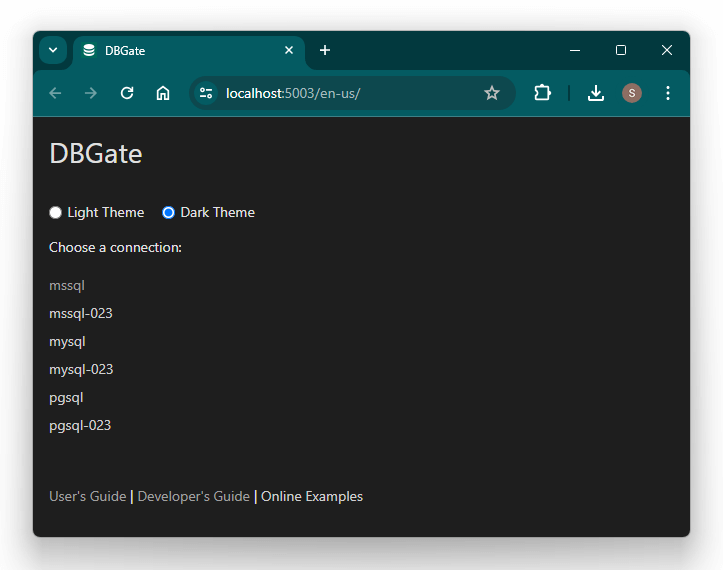
The homepage shows connections configured in the appsettings.json file.
The default package contains configured SQL Server, MySQL, and PostgreSQL connections and online examples.
Click on the mssql, mysql, or pgsql link to connect to your local server. You will see the login page:
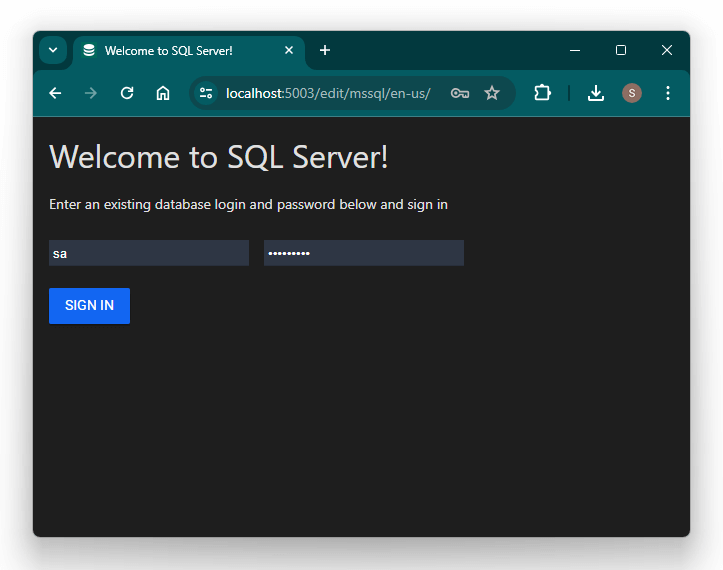
Enter your login and password and enjoy your free database data editor in a browser.
We discussed above first steps with the console application.
You may create a link to launch it anytime or configure the IIS website, IIS application, or a Windows service.
Once configured the IIS website, you may use a simple link like https://dbgate/.
Please note that you may use DBGate in your culture like https://dbgate/fr-fr/ or https://dbgate/zh-cn/.
The free edition allows using two logins per database.
You may purchase the DBGate Enterprise edition and deploy it to your corporate servers.