Data Publishing Wizard
The Data Publishing Wizard allows:
- Creating database tables based on Microsoft Excel tables
- Exporting Excel table data to the created database tables
- Inserting connected tables
The inserted tables allow saving changes using the Save button.
Other users can connect to the tables in a database and change data too.
The wizard applies source Excel table formatting and formulas.
Use the Table Format Wizard to save the formatting and formulas to a database.
You can use the Data Publishing Wizard to recreate the database table, for example, to change a table structure.
However, please do not use it to substitute a regular mode of saving changes.
See also the Data Merge Wizard that allows merging Excel table data to existing database tables.
The Data Publishing Wizard allows publishing data on all supported database platforms:
SQL Server, Azure SQL Database, Oracle Database, IBM DB2, MySQL, MariaDB, PostgreSQL, NuoDB, Snowflake, SQL Server Compact, and SQLite
Excel Table Requirements
The Data Publishing Wizard works with Excel tables early named "Lists".
To run the wizard, select any cell of the table to publish.
If the wizard is disabled, create an Excel table. To create it, select a table region and click the Insert, Table Excel menu item.

Important Notes
A newly inserted Excel table contains a column with row numbers (_RowNum in the English version) required to save data changes.
Accordingly, insert at least one empty column before the source table if it starts in column A. Otherwise, columns will be shifted.
Wizard Steps
The wizard includes the following steps:
- Selecting a provider
- Connecting to a database
- Designing a database table
- Defining the table schema and name
- Executing the publishing script
- Verifying script results
- Inserting a connected table
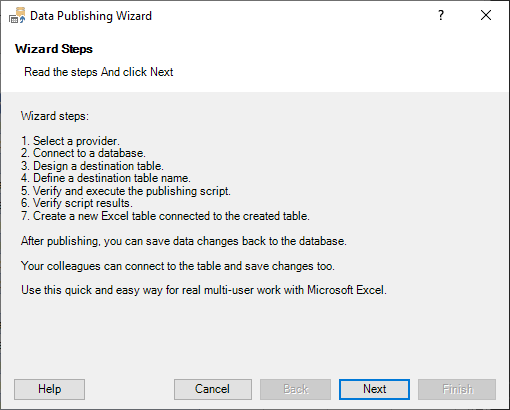
Step 1. Selecting Provider
Select the desired data provider as described in the Database Connections topic.
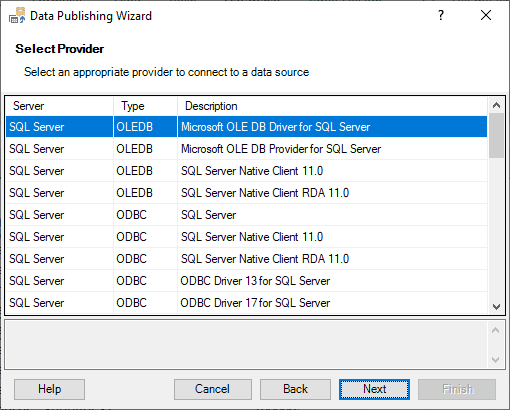
Step 2. Connecting to Database
Connect to a database as described in the Database Connections topic.
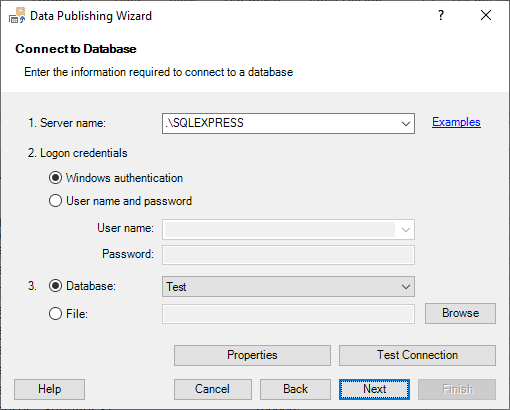
Step 3. Designing Database Table
This step allows designing the destination database table.
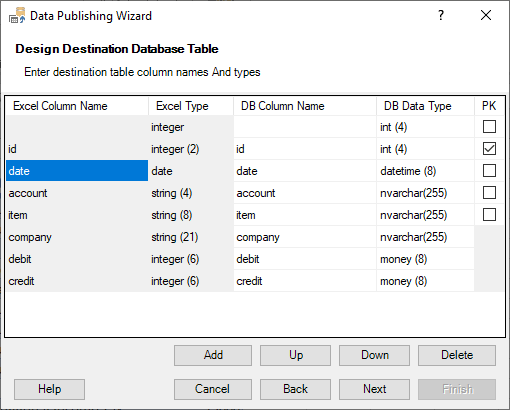
You can:
- Add and delete destination table columns
- Change the column order
- Change the destination table column names
- Change the destination table column types
- Change the primary key columns
The Database Data Type column contains the types applicable to the source column types.
For example, the wizard shows only integer-compatible SQL data types if the source column contains integers only.
The wizard selects the most proper types by default, but you have to check and change the types if necessary.
The number in brackets in the database data types is the data type length.
The wizard does not use the 4-byte real and float data types because Microsoft Excel imports the wrong values.
The table must have at least one primary key (PK) column. Primary key columns must have no empty values.
The wizard adds the IDENTITY property to integer columns used as a single primary key.
The wizard adds a GUID generation property to GUID columns used as a single primary key.
IDENTITY and GUID columns are supported on all database platforms.
The wizard does not create database columns for source columns that contain formulas.
It creates such formula columns in the final step when inserting a new table.
You can use the Table Format Wizard to save the formatting and formulas to a database to share them with your colleagues.
Step 4. Defining Table Schema and Name
Use this step to define a schema and name of the destination table.
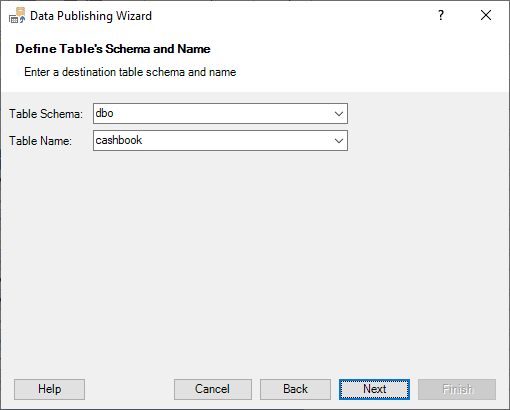
The Table Schema field contains schemas where a user may create new tables.
Typically, a user must have ALTER SCHEMA permission.
To create a new schema, a user must have the CREATE SCHEMA permission.
The Table Name field contains names of the existing tables of the selected schema.
Important! If the destination table exists, it will be dropped when creating a new table.
The wizard asks for confirmation in such cases.
Step 5. Executing Script
This step allows verifying and executing the publishing script.
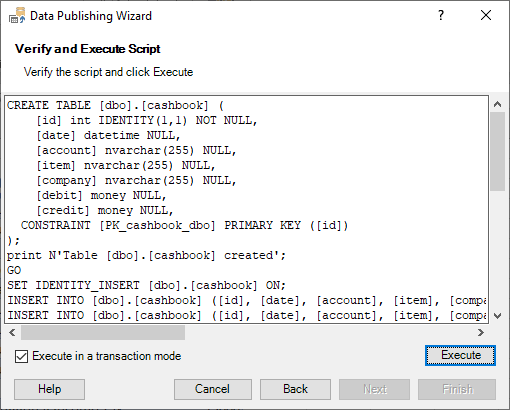
You can edit the script before the execution. For example, you can change the data types.
However, know what you do because the wizard does not control your changes.
Click the Execute button to execute the script.
If the script execution has been interrupted by timeout, you can increase the command timeout in the Options dialog box.
If you do not have enough permissions to execute the script, you can copy and send it to your database administrator to create the table and import the data.
Step 6. Verifying Script Results
The wizard shows script execution results before the next step.
For example:
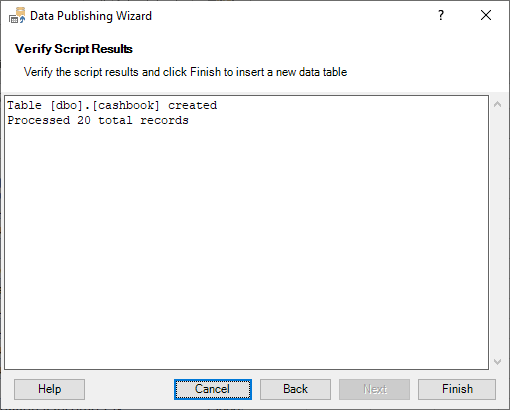
The wizard executes the script in a transaction.
So, if you see any error, your database has no changes.
If you see an error, analyze it. Possibly, you need to change data types or modify some data.
Click the Finish button to create an Excel table connected to the created database table.
Step 7. Inserting Connected Table
When you click the Finish button, the wizard performs the following actions:
- Creating a new worksheet
- Inserting a new table connected to the created database table
- Copying formula columns to the new table from the source table
- Applying formats from the source table
The newly inserted table contains the first _RowNum column used for saving data changes. The wizard hides it.
The source and new tables have the same column orders. So, you can easily modify external formulas to new tables.
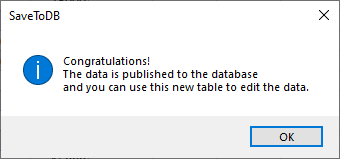
The wizard shows the result message at the end:
